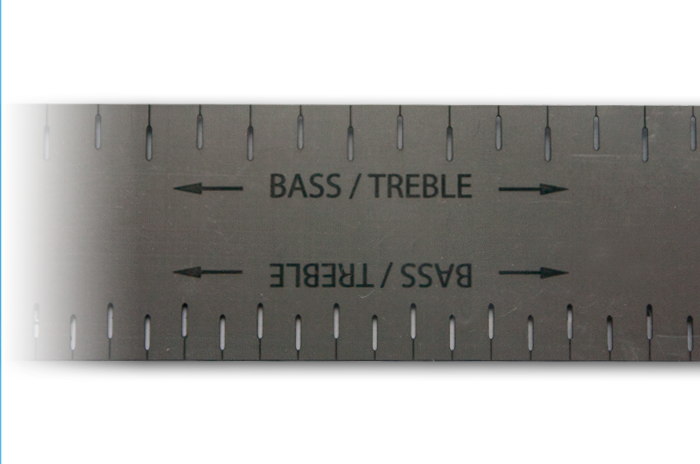
String Spacing Ruler


Take a look at your guitar nut. Do you see how the strings are perfectly spaced apart? Back in the old days when someone was making a nut, they would have to measure the length of the nut and divide that by seven. Then mark that length six times across the top of the guitar nut. You could also make a template nut and transfer the string spacing onto the new nut. This works in theory, but what happens when you make different length nuts? You template will not work. You'll need multiple templates. This was the old way to laying out a guitar nut. It was tedious and time consuming. Now you can buy a string spacing ruler that does all the calculating for you.
A string spacing ruler is a metal ruler with small slots cut out of it all the way across both sides of it. The space between the slots varies in width along the ruler. One side of the ruler has very tight spacing while the other has larger spacing. This is the cool part. After you have made your guitar nut, take the string spacing ruler and place it on top of your nut. Move the ruler across the nut until you can see two slots lining up with the edges of your nut. Now count the slots on top of the nut. If you only have five slots, keep moving the ruler down the nut until you count six slots on the ruler. Now just mark the six slots with a pencil and pull the ruler off the nut. Vuala! You have six equally spaced strings on you guitar nut.
Need I even say this? Every luthier or guitar repairman should have a string spacing ruler in his guitar repair bench. This ruler will save you tons of time laying out nuts or making templates. Plus, you will only have to keep one tool in your repair bench—not five or six. The string spacing ruler is easy to use and very affordable. I highly recommend this tool. If you would like more information about how to setup a guitar nuts, please see my how to replace a guitar nut article.

